Send content to a Client for approval
Here's how to ensure your content gets the green light from your stakeholders before going live.
Jump ahead
- Sending content to your Clients
- The content life-cycle
- Monitoring progress
- Marking content as approved
- Approval notifications
Sending content to your Clients
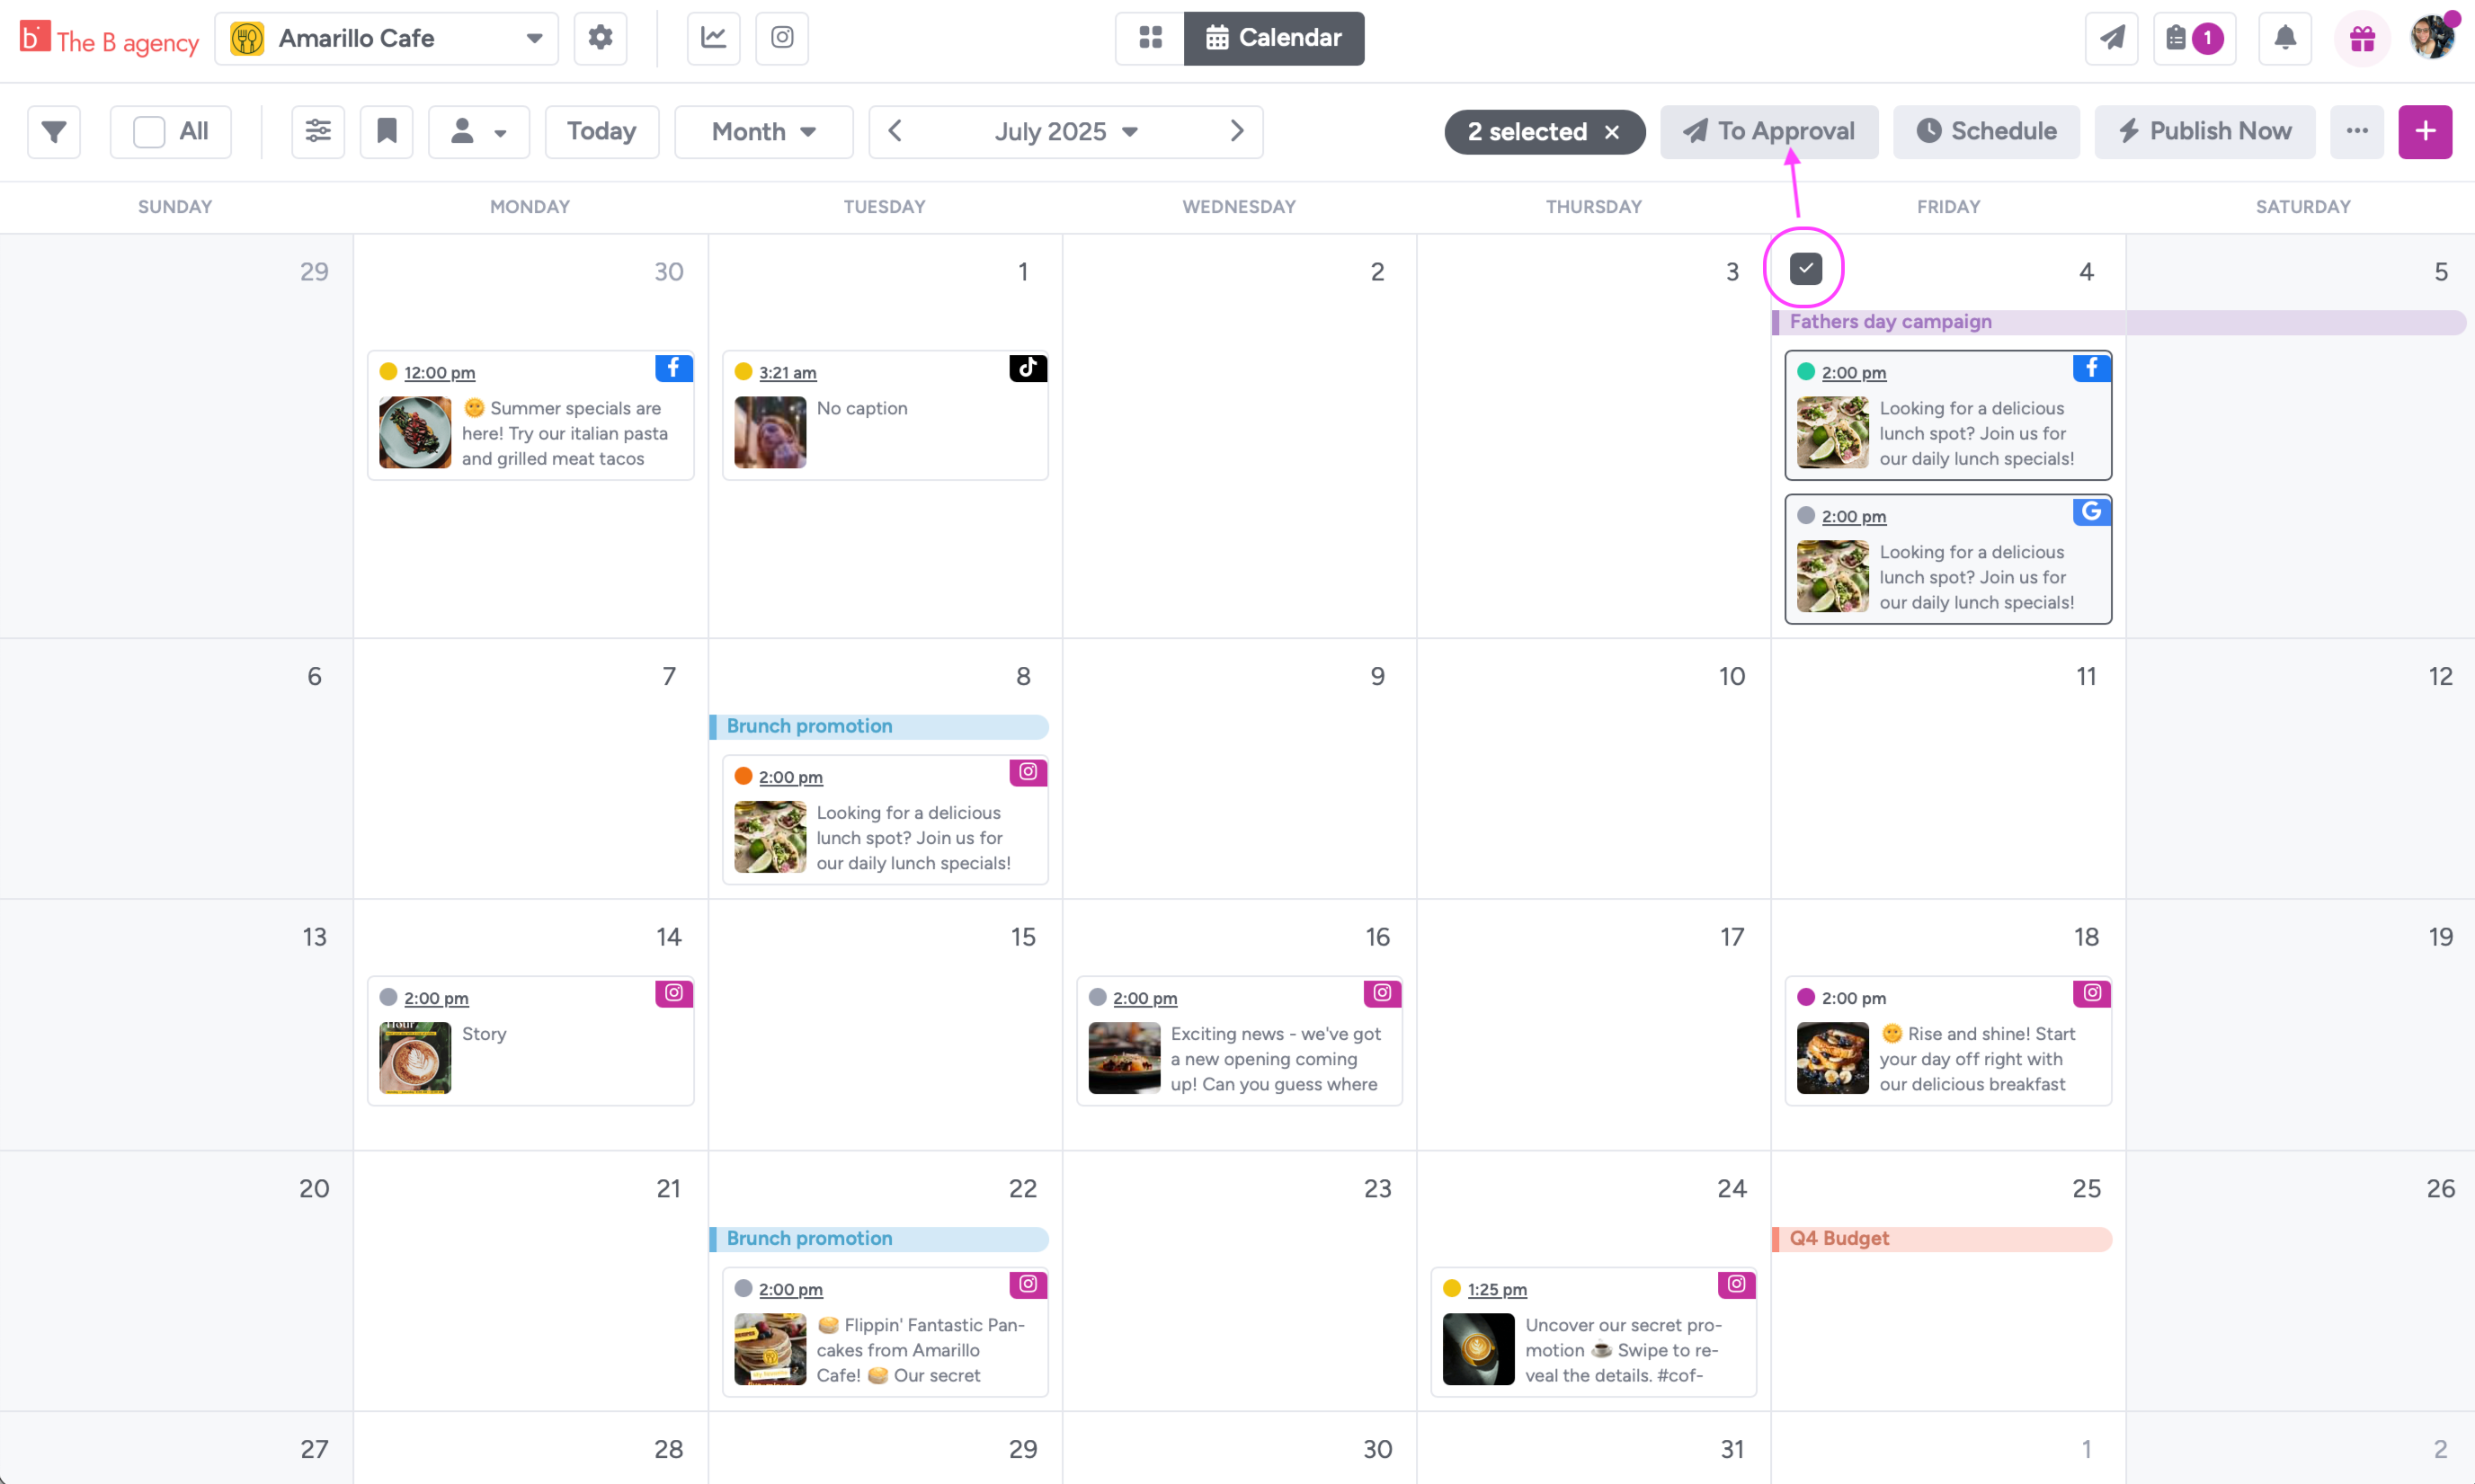
You can send a content item to a Client or stakeholder for approval from the content editor immediately after creating it...
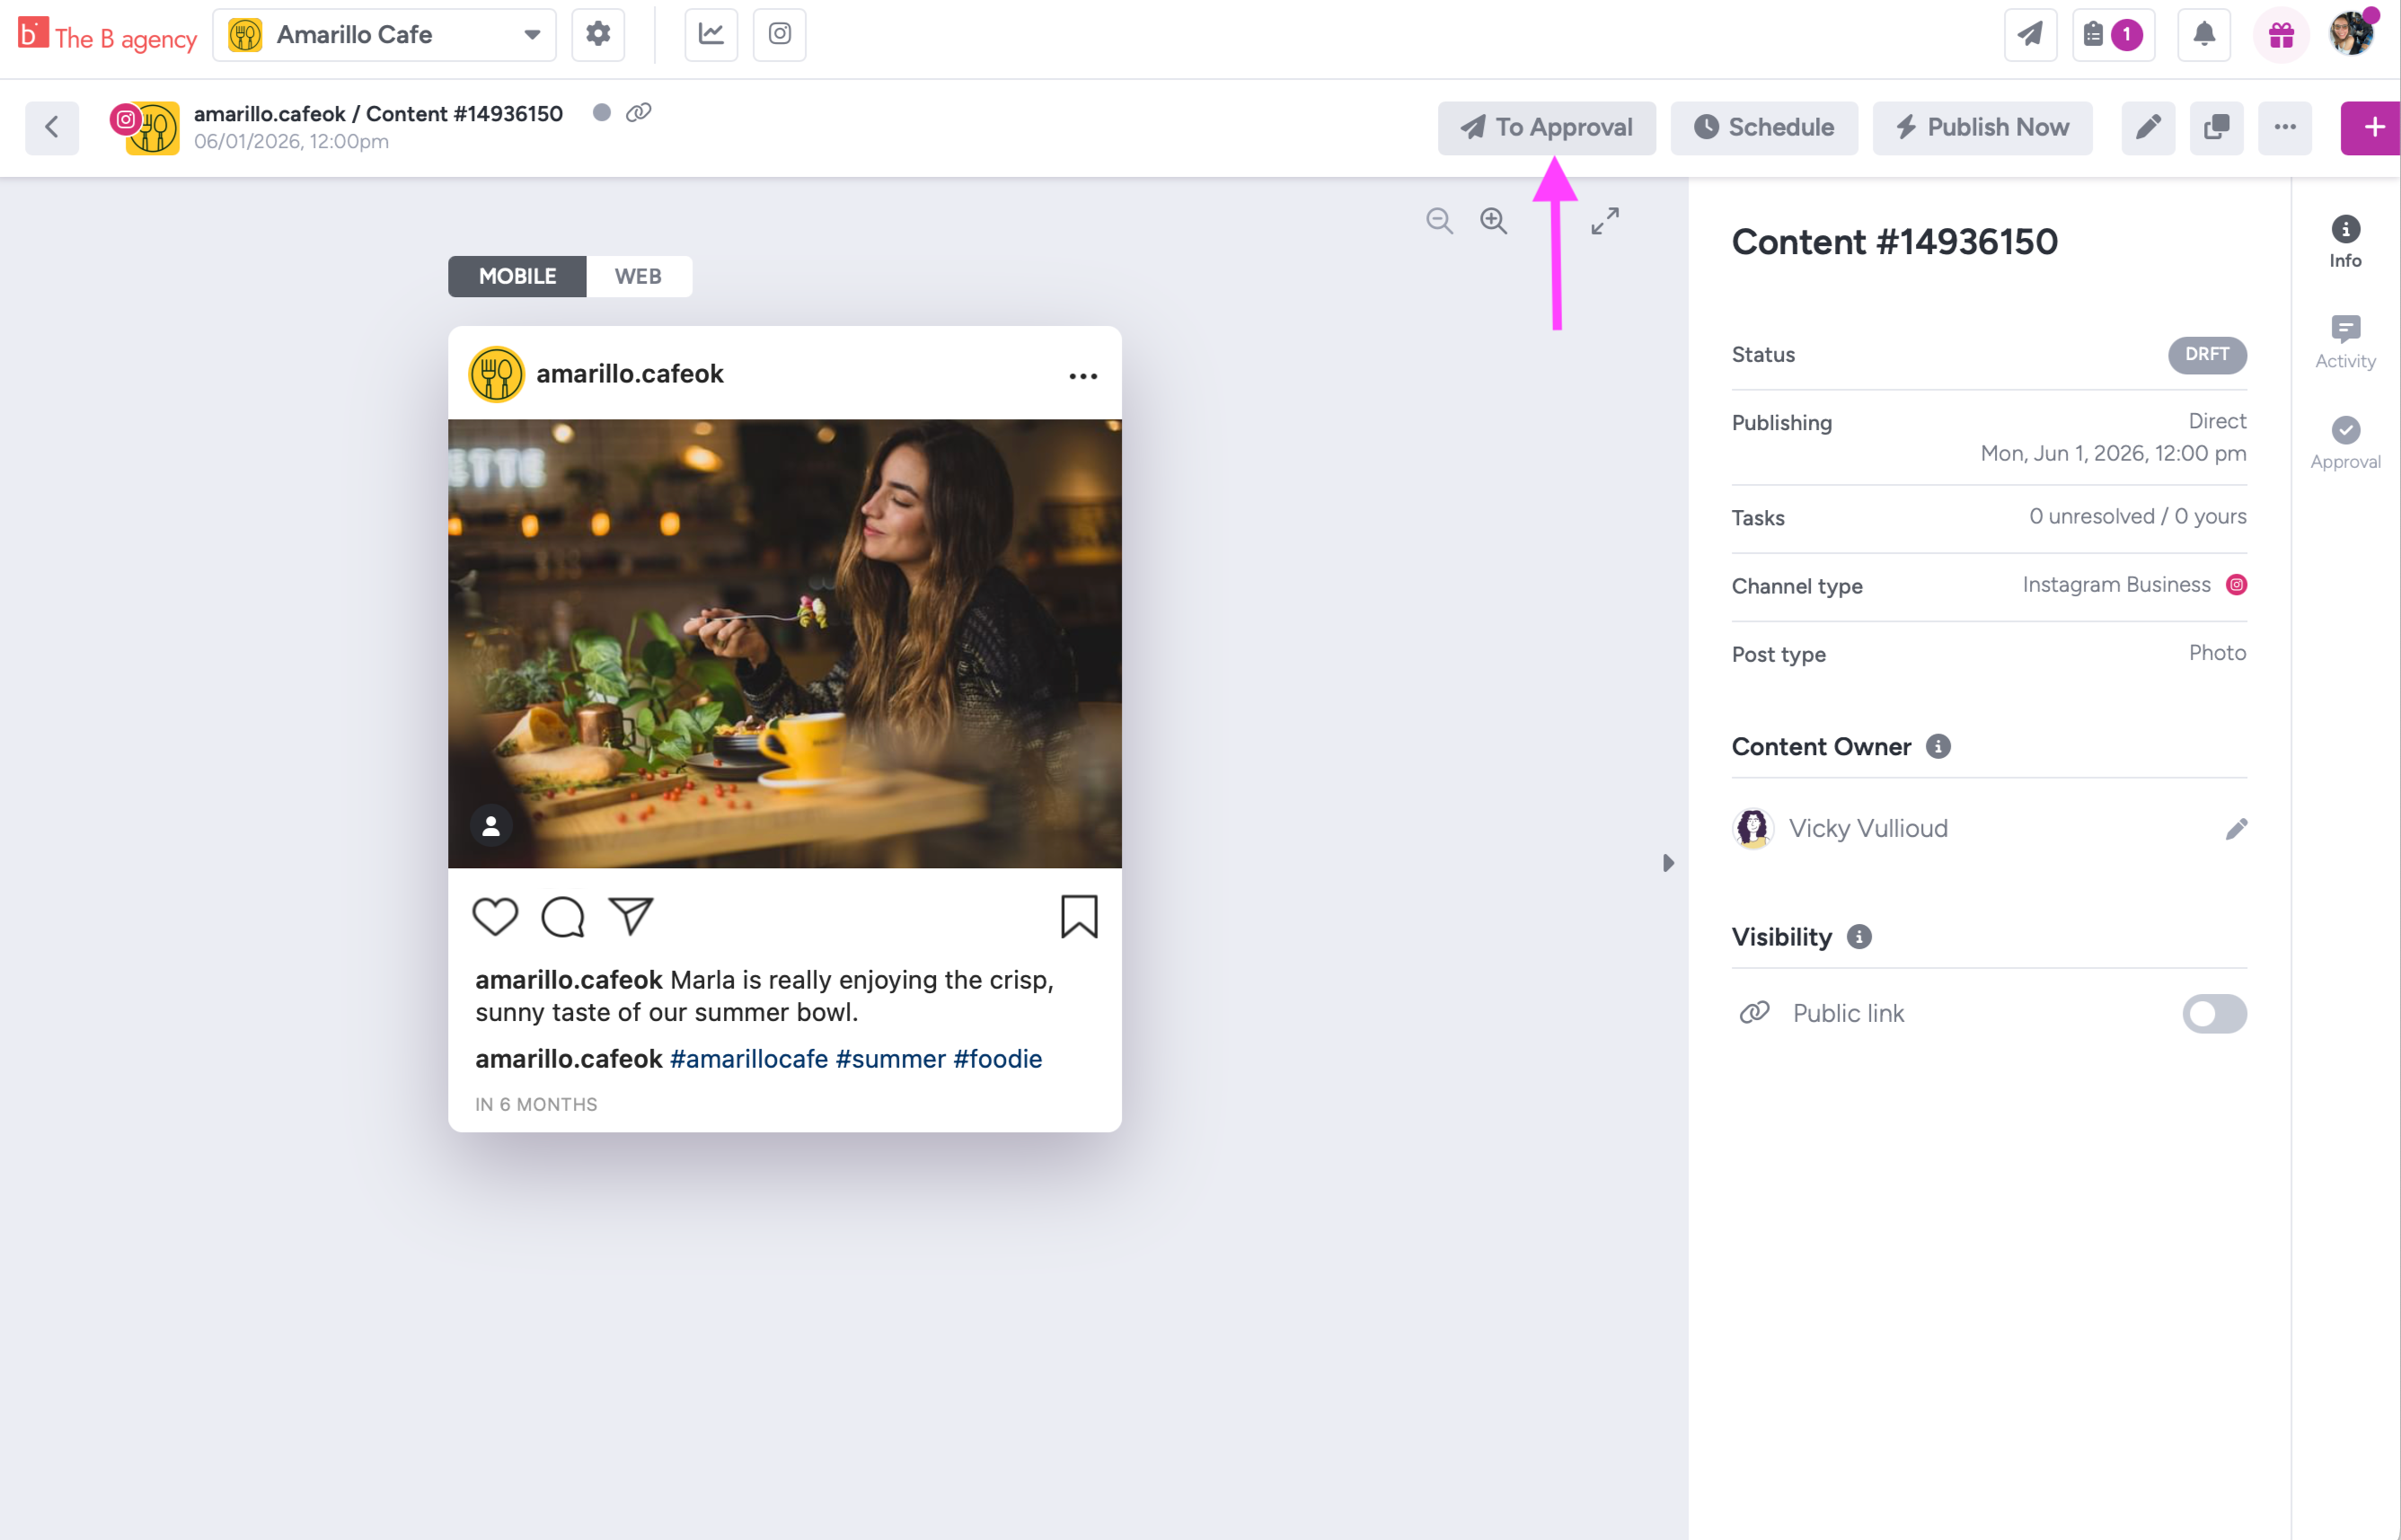
or from the Calendar or Gallery views, where you can select more than one item to send them in bulk. Just select the desired items and click To Approval from the top bar on the right.
You have 2 options when sending content to approval:
- Under Workflows, choose an approval workflow – Approval workflows are reusable templates with pretedermined stakeholders and rounds of approval.
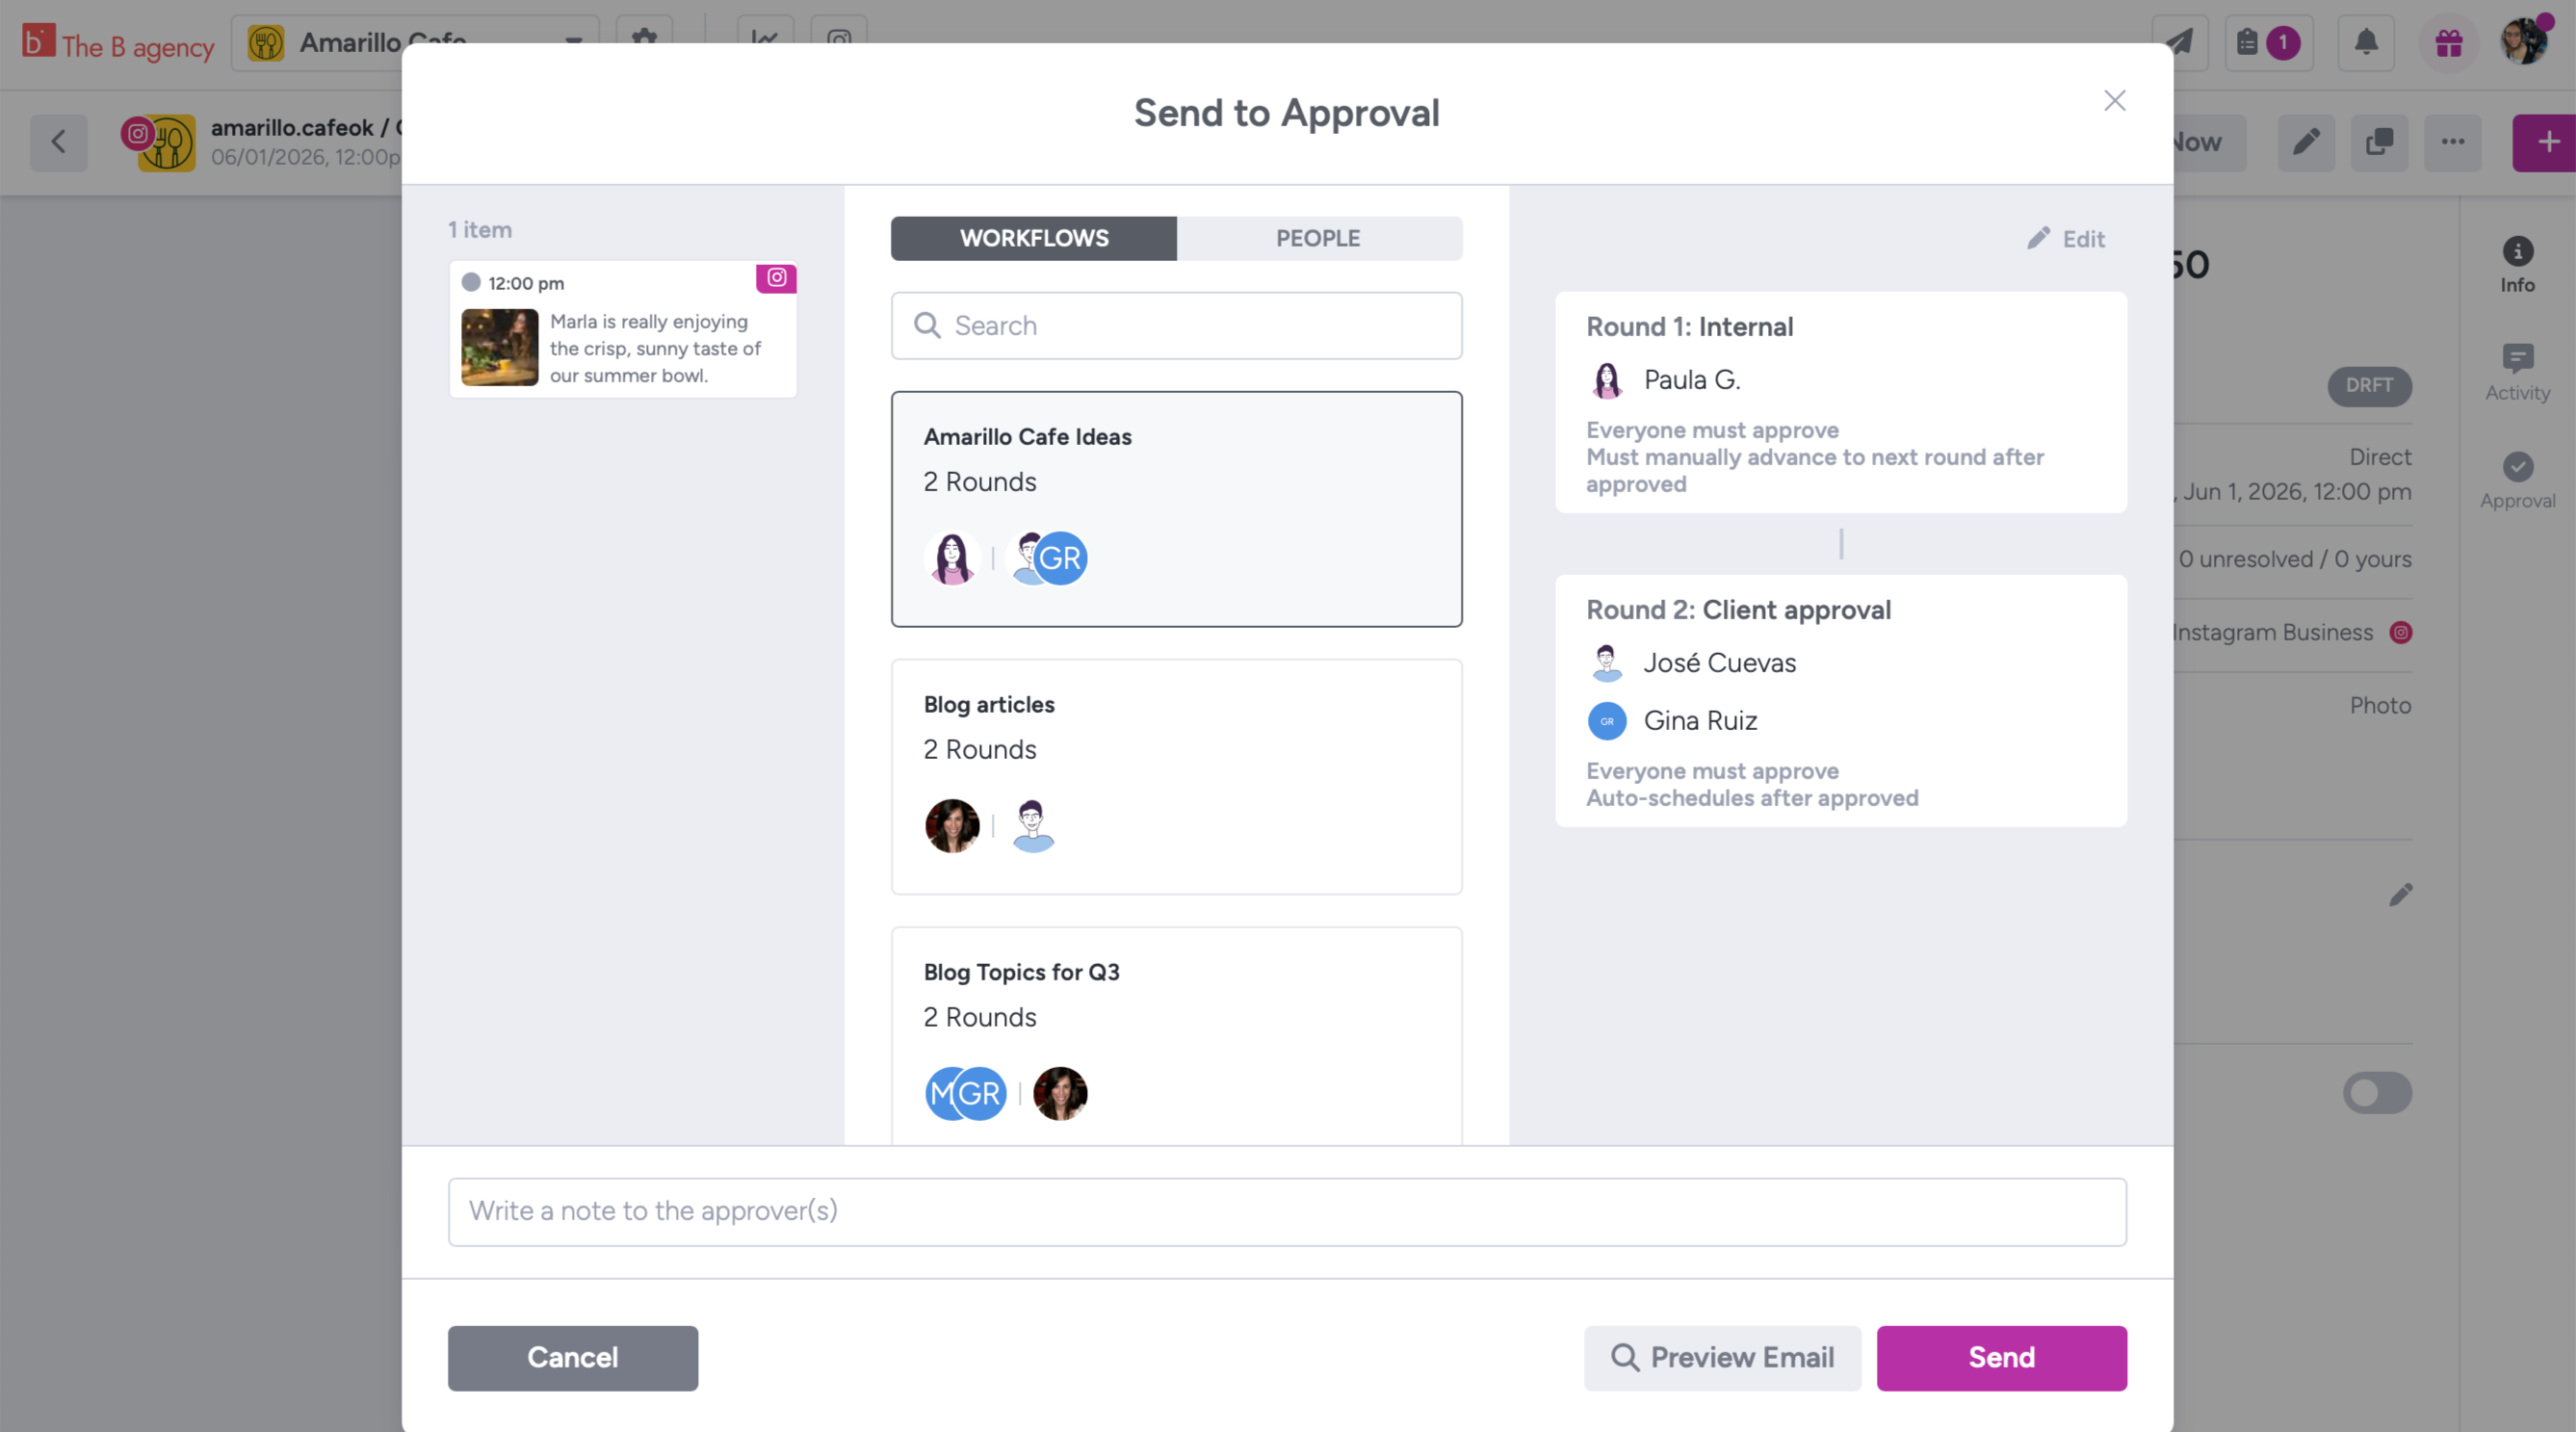
2. Under People, select Clients or stakeholders to send the content to.

Optionally, you can add a note that will be included in the email notification to your Client. Your note will be visible to you later in the Activity tracker of the content item.
Note: If you send multiple content items for approval at once, your Clients or stakeholders will receive a single email notification including all of them. That way we don't spam them. 😉
The content life-cycle
After submitting content for approval, you'll notice the status of your content will change. The different statuses are:
- Draft
- Pending Approval
- Ready for Next Round
- Revision Requested
- Approved
- Scheduled
- Manually Publish
- Live
You can keep an eye out for status changes from different views, like the Calendar or Gallery, and filter content in your Calendar or Gallery view by status.

👉🏼 Learn about all the content statuses in detail
Monitoring progress
You will receive email and in-app notifications (Notification Center 🔔) when your Client or stakeholder requests changes or approves the content. Clicking on either will take you to the content item where you can review its activity.

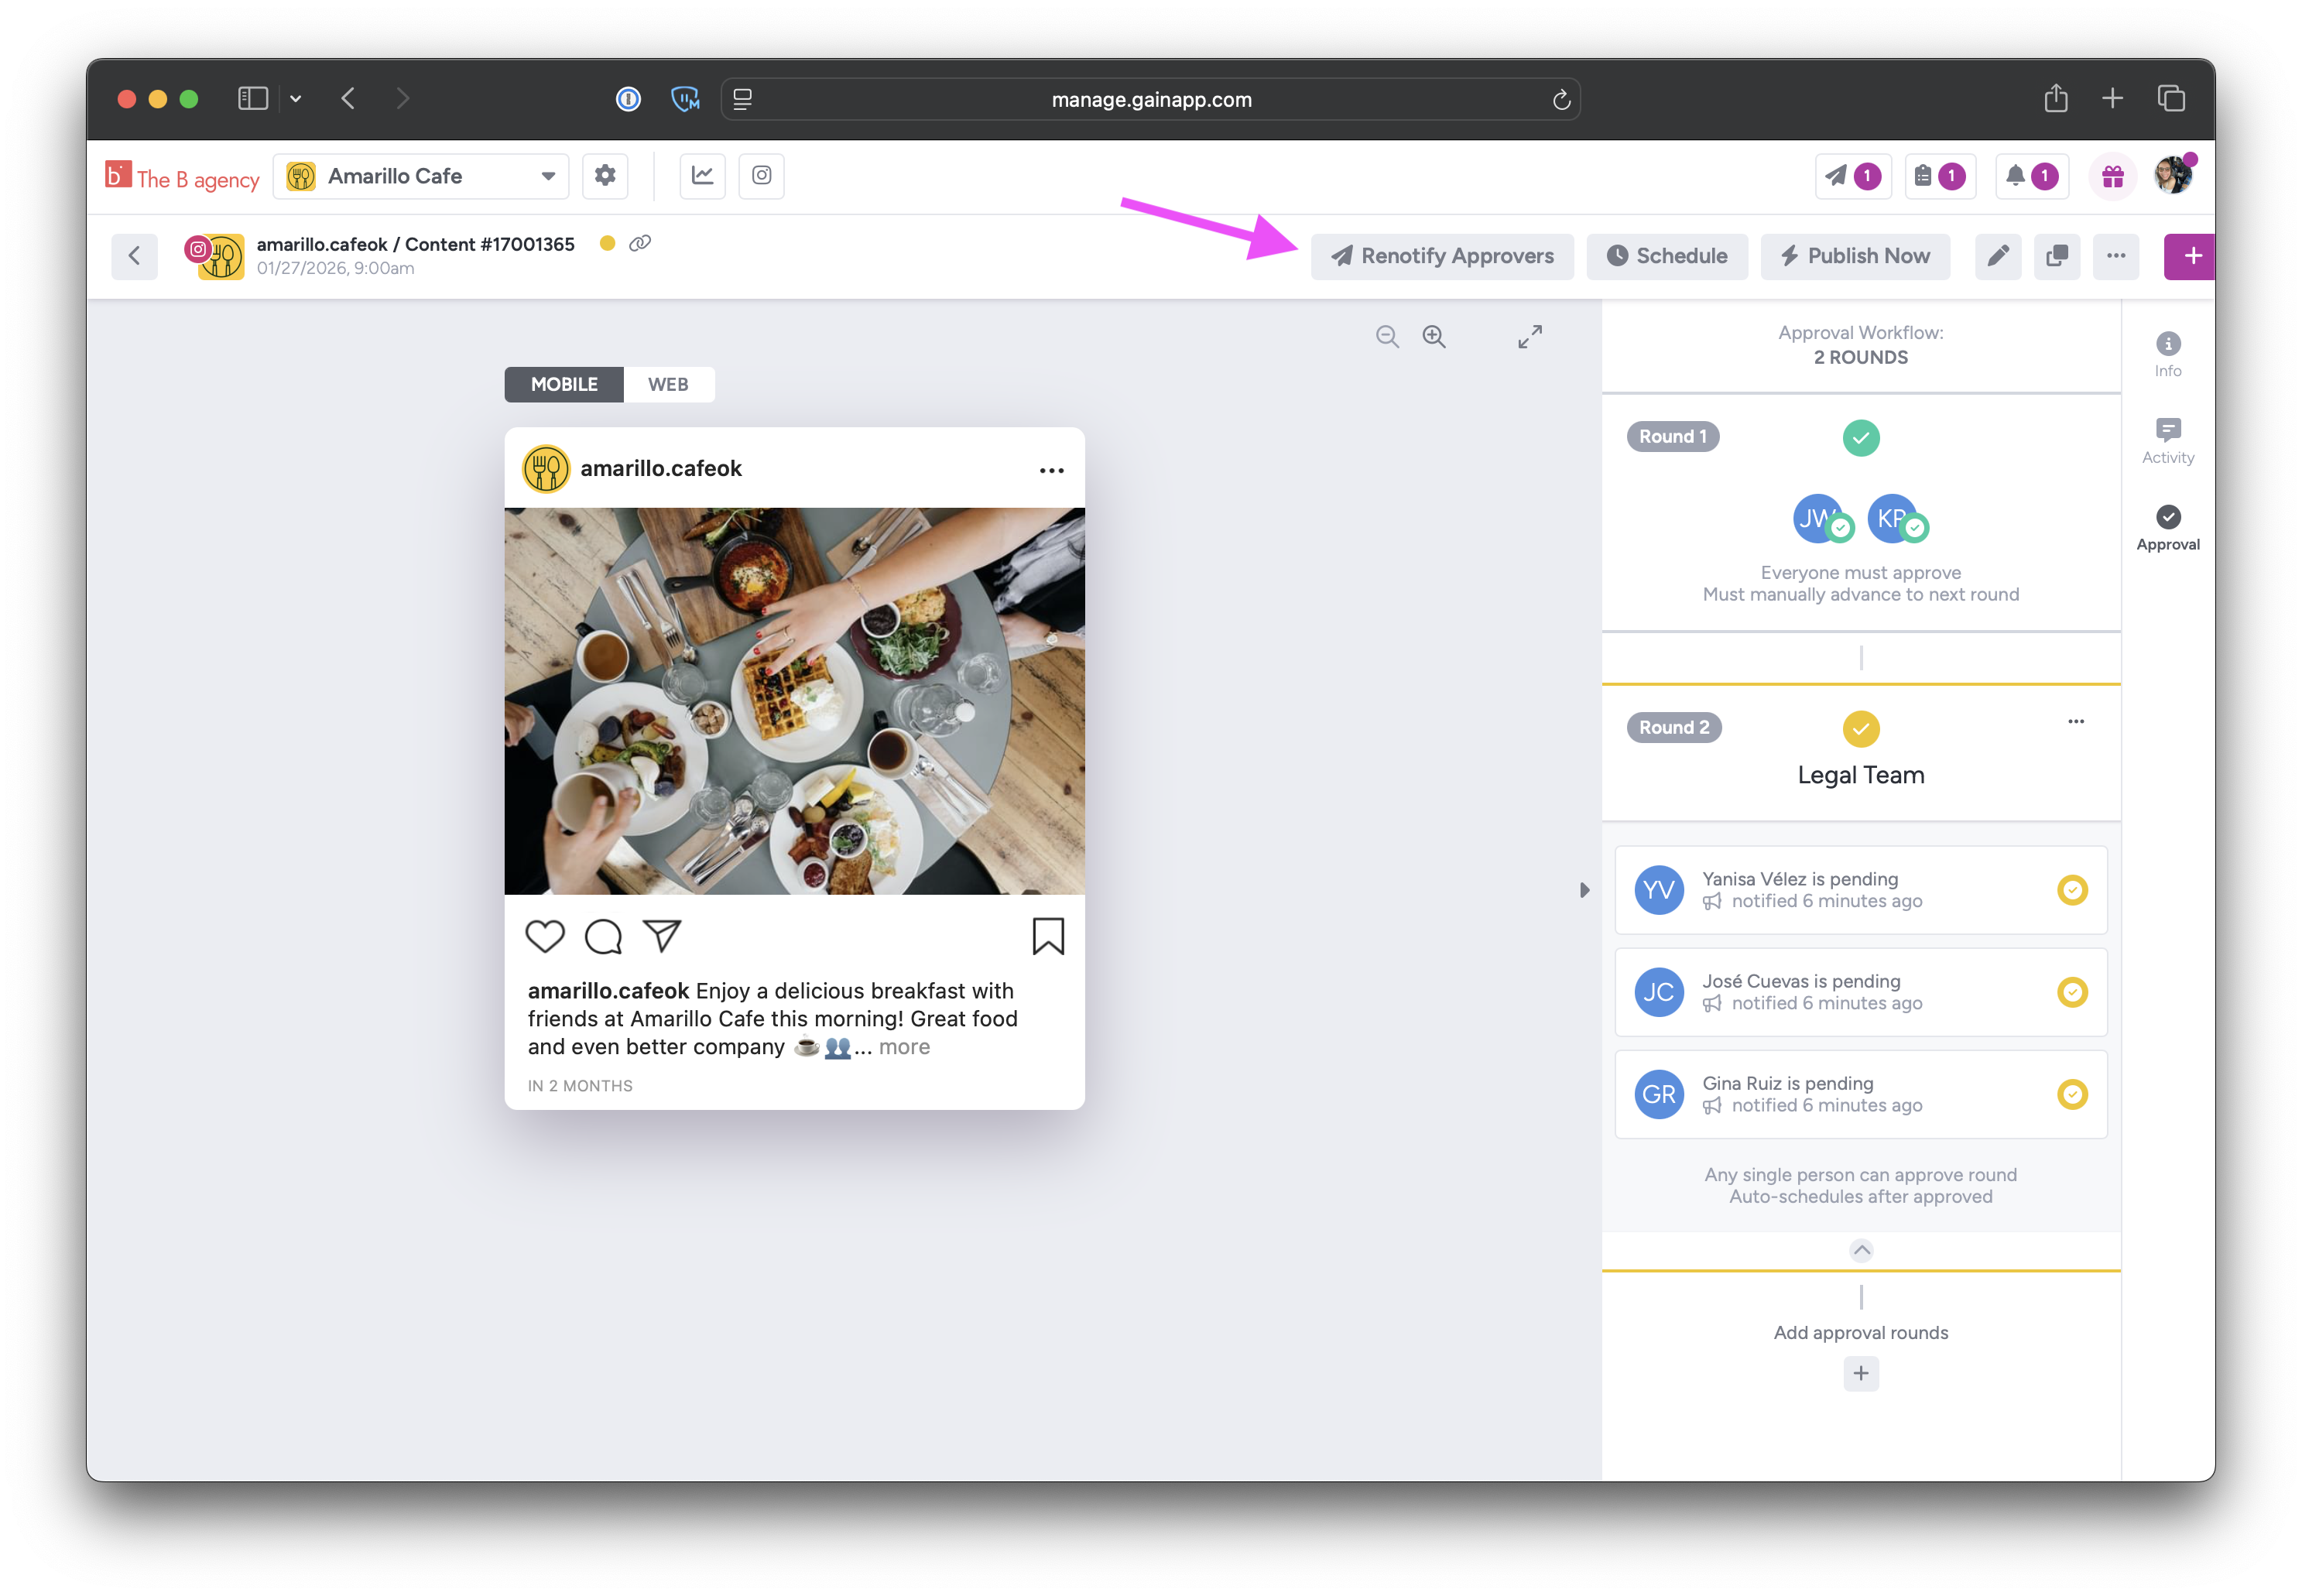
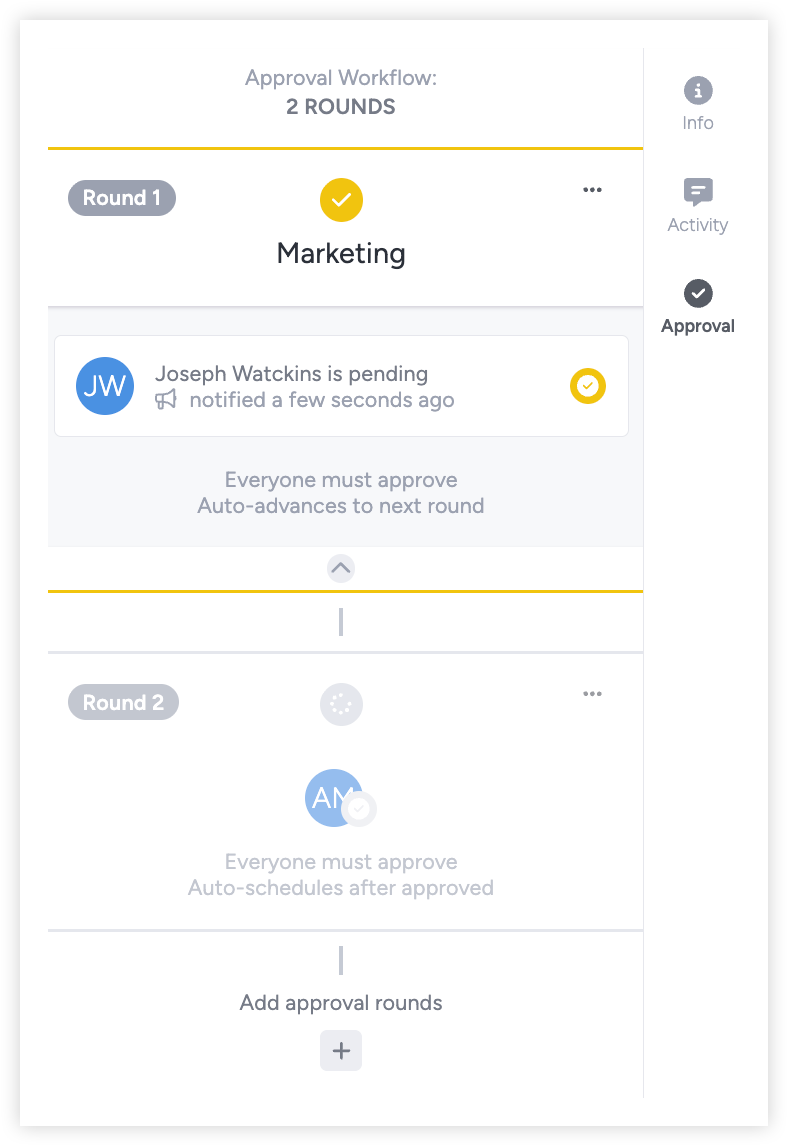
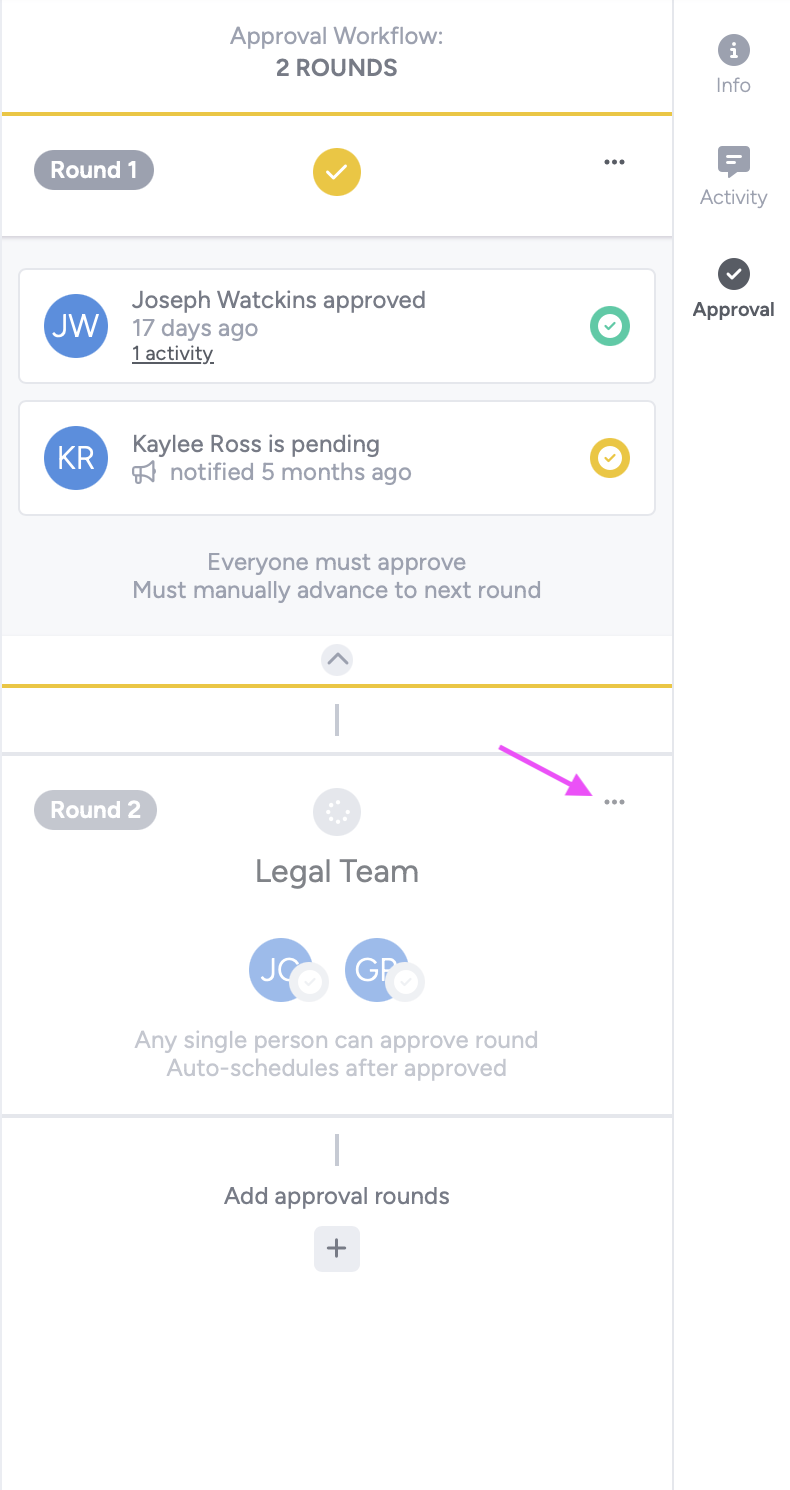
Each content item has its own Activity and Approval tracker. You can toggle between them by clicking on the vertical bar to the right.
The Activity tracker shows all activity around that content item.

The Approval tracker shows you all approval-related information and activity.

From the Approval tracker you can also override someone's approval, add or delete approval rounds and re-notify Clients.
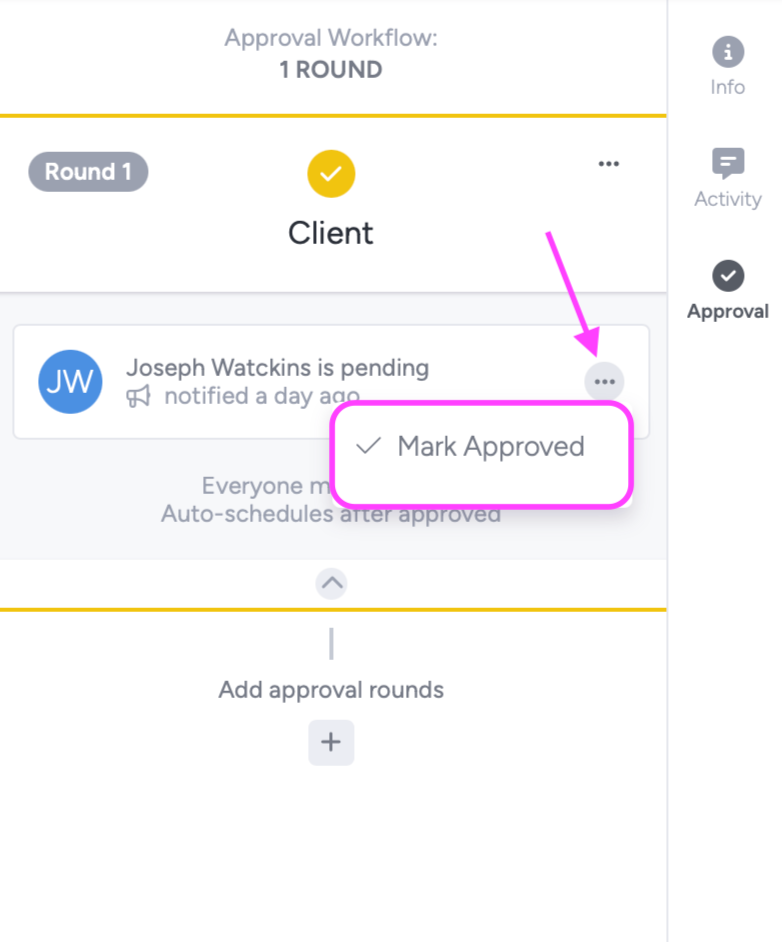
Mark content as approved
From the Approval tracker, you can override or approve on behalf of someone else if that person is not available. Find the three dots next to the person's name, and click Mark Approved.
You'll be prompted to write a reason for overriding the stakeholder. Then, click Send.
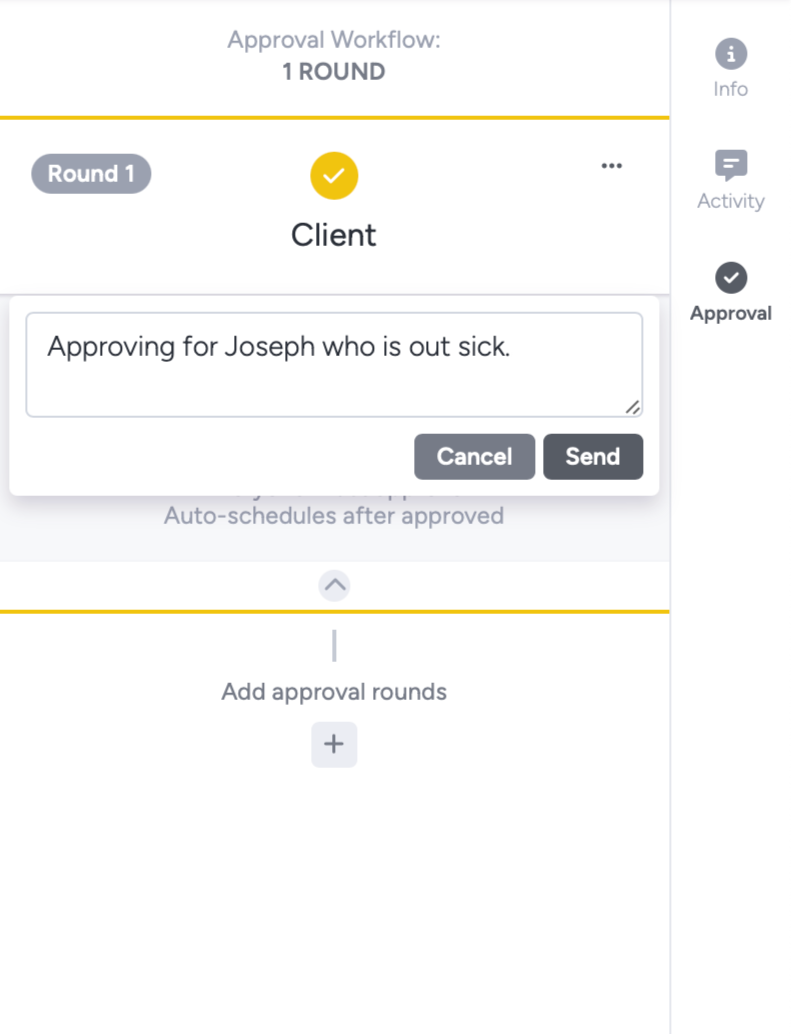
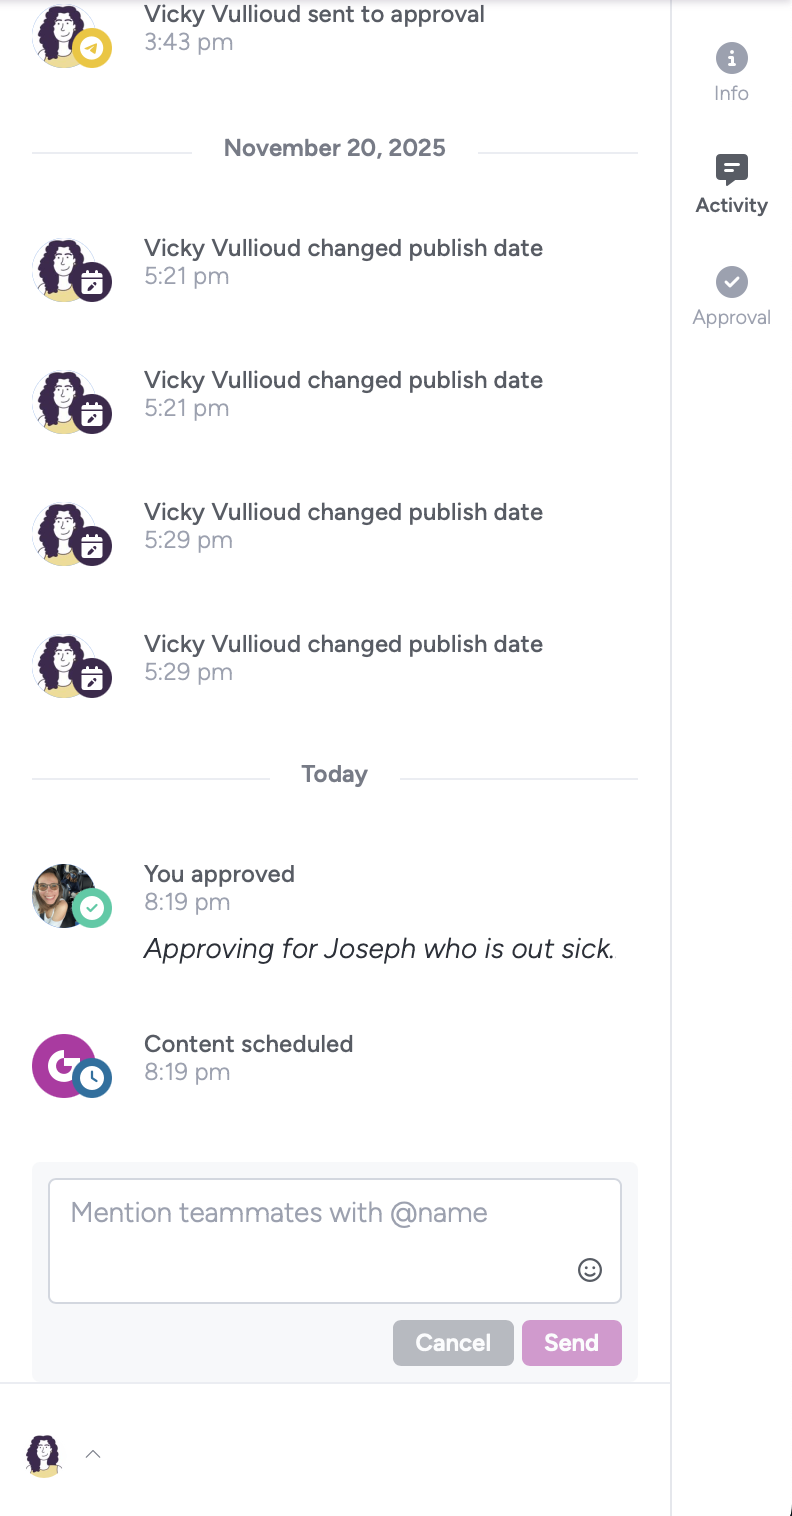
The approval override will be logged in the Activity Tracker.
Note: Only Account owners, Admins, or Publishers can override the approval of Clients or stakeholders.
Edit an approval round
You can modify rounds before they start; a round starts when the Clients in that round are notified. In the example below, the content is still on its first round, so you could modify the second round or add additional rounds.
Click on the three dots (...) next to the round name:
and choose to Edit or Delete the round.
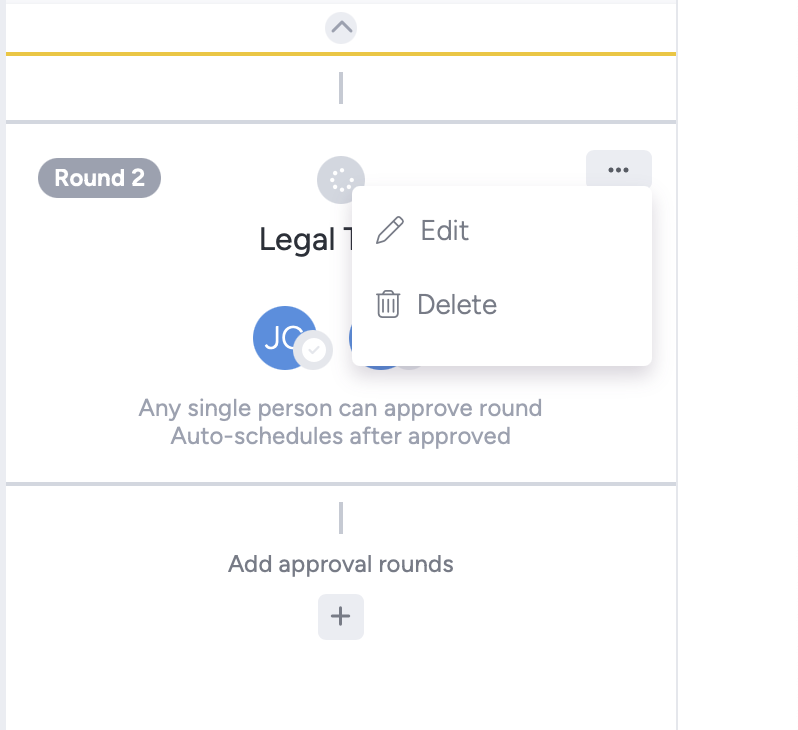
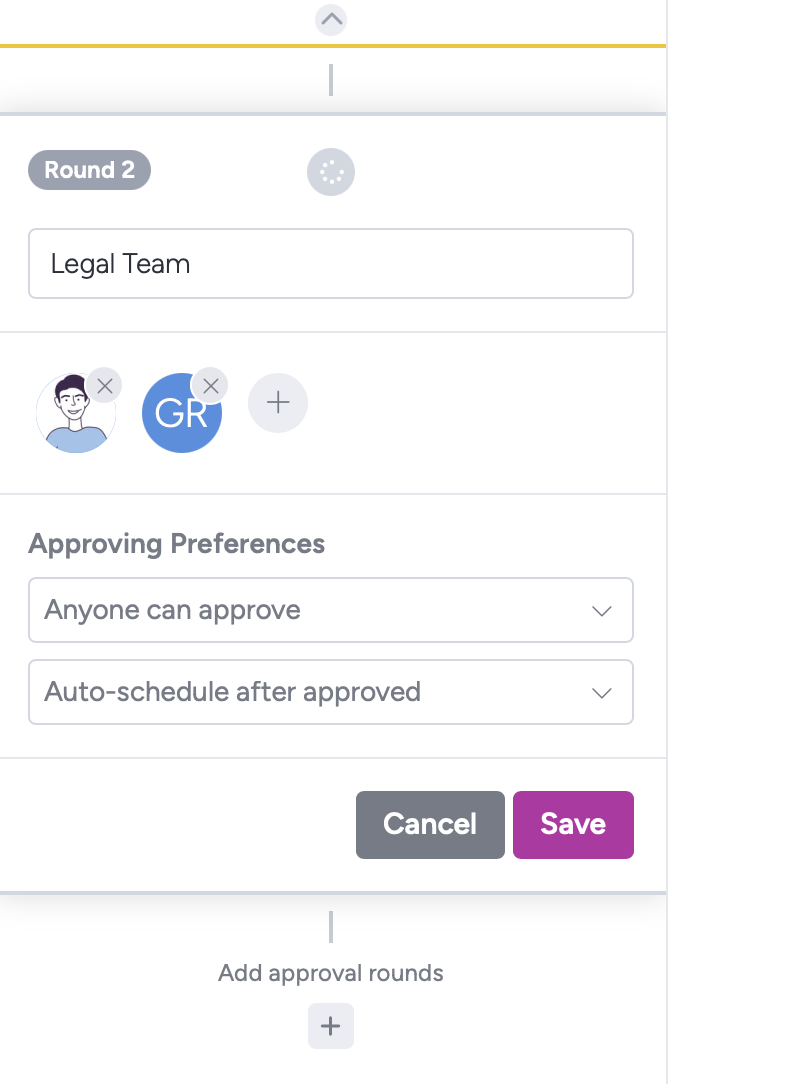
If you choose to Edit, you can rename the round, add or remove stakeholders, and change the approving preferences, which are:
- Anyone in the round can approve or Everyone in the round can approve
- Auto-schedule the post after approved or Manually schedule after approved
Note: Editing a workflow within a content item will only apply the changes to that item. If you want to change an approval workflow for all content items moving forward, you must edit it in Workspace Settings > Approval Workflows.
Approval notifications
Whenever you send content for approval, stakeholders will receive an initial email notification. If the Client or stakeholder doesn't respond, Gain will start sending automatic email reminders. (Clients can turn off the reminders in their Notification Preferences.)
- Reminders are sent every 6, 12, 24, 48, and 72 hours following the initial notification.
- Approvers receive a single notification for a batch of content, even if multiple items are submitted for approval.
⚠️ If your client isn't receiving their email notifications, check out this troubleshooting guide.
Resending content to Clients or stakeholders
When a Client requests changes, the content item will change status to Revision Requested. After you've edited the content and are ready to resend it to your Client, you'll notice the To Approval button has changed to Renotify Approvers. Click on it to continue the approval process. Your Client will once again receive an initial email notification and subsequent reminders if needed.