
Creating content for LinkedIn
From Gain, you can create, send for approval, and auto-publish LInkedIn photo and video posts, link posts, status posts, and document (PDF) posts.
Jump ahead
Before you get started
Gain supports publishing for both LinkedIn Company Pages and Personal Profiles. Here's what you'll need to keep in mind depending on the LinkedIn channel you'd like to connect:
- Company Pages: To connect a Company Page to Gain, your LinkedIn profile must have Super Admin rights to manage it. For more information on admin roles, visit LinkedIn's help center.
- Personal Profiles: To connect a Personal Profile to Gain, you'll need your login details.
💡If you need guidance connecting your LinkedIn channels to Gain, check out this article.
Post types and supported formats

Photo and video posts
- Formats: JPG, PNG, MP4, MOV, GIF
- Max photo or image size: 5 MB (Optimal resolution: 80 x 150px, to prevent it from being artificially stretched to fit the layout)
- Max size and duration for videos: Up to 200 MB, 20 minutes long
- Caption character max: 700
Document posts (PDF posts)
- Formats: PDF, PPT, PPTX, DOC, DOCX, Illustrator, PSD
- Max document size: 100 MB
- Max number of pages: 300
- Caption character max: 700
- You can customize the Document title that will appear on LinkedIn.
Link posts
- Paste a URL in the Link field
- Gain will retrieve the Link title, but you can customize it.
- Gain will retrieve the image from the URL, but you can choose to upload a different one.
- Caption character max: 700
- LinkedIn automatically shortens links that are over 26 characters. In the Gain preview, a temporary shortened link is displayed as a placeholder. At the time of publishing, LinkedIn will substitute the short URL with a new one. Your link will work perfectly when your post goes live.
Status posts
- A status post consists of text only, with a max of 700 characters.
💬 For all LinkedIn post types, you can also add the first comment so your stakeholders can preview it along with the post.
Editing photos
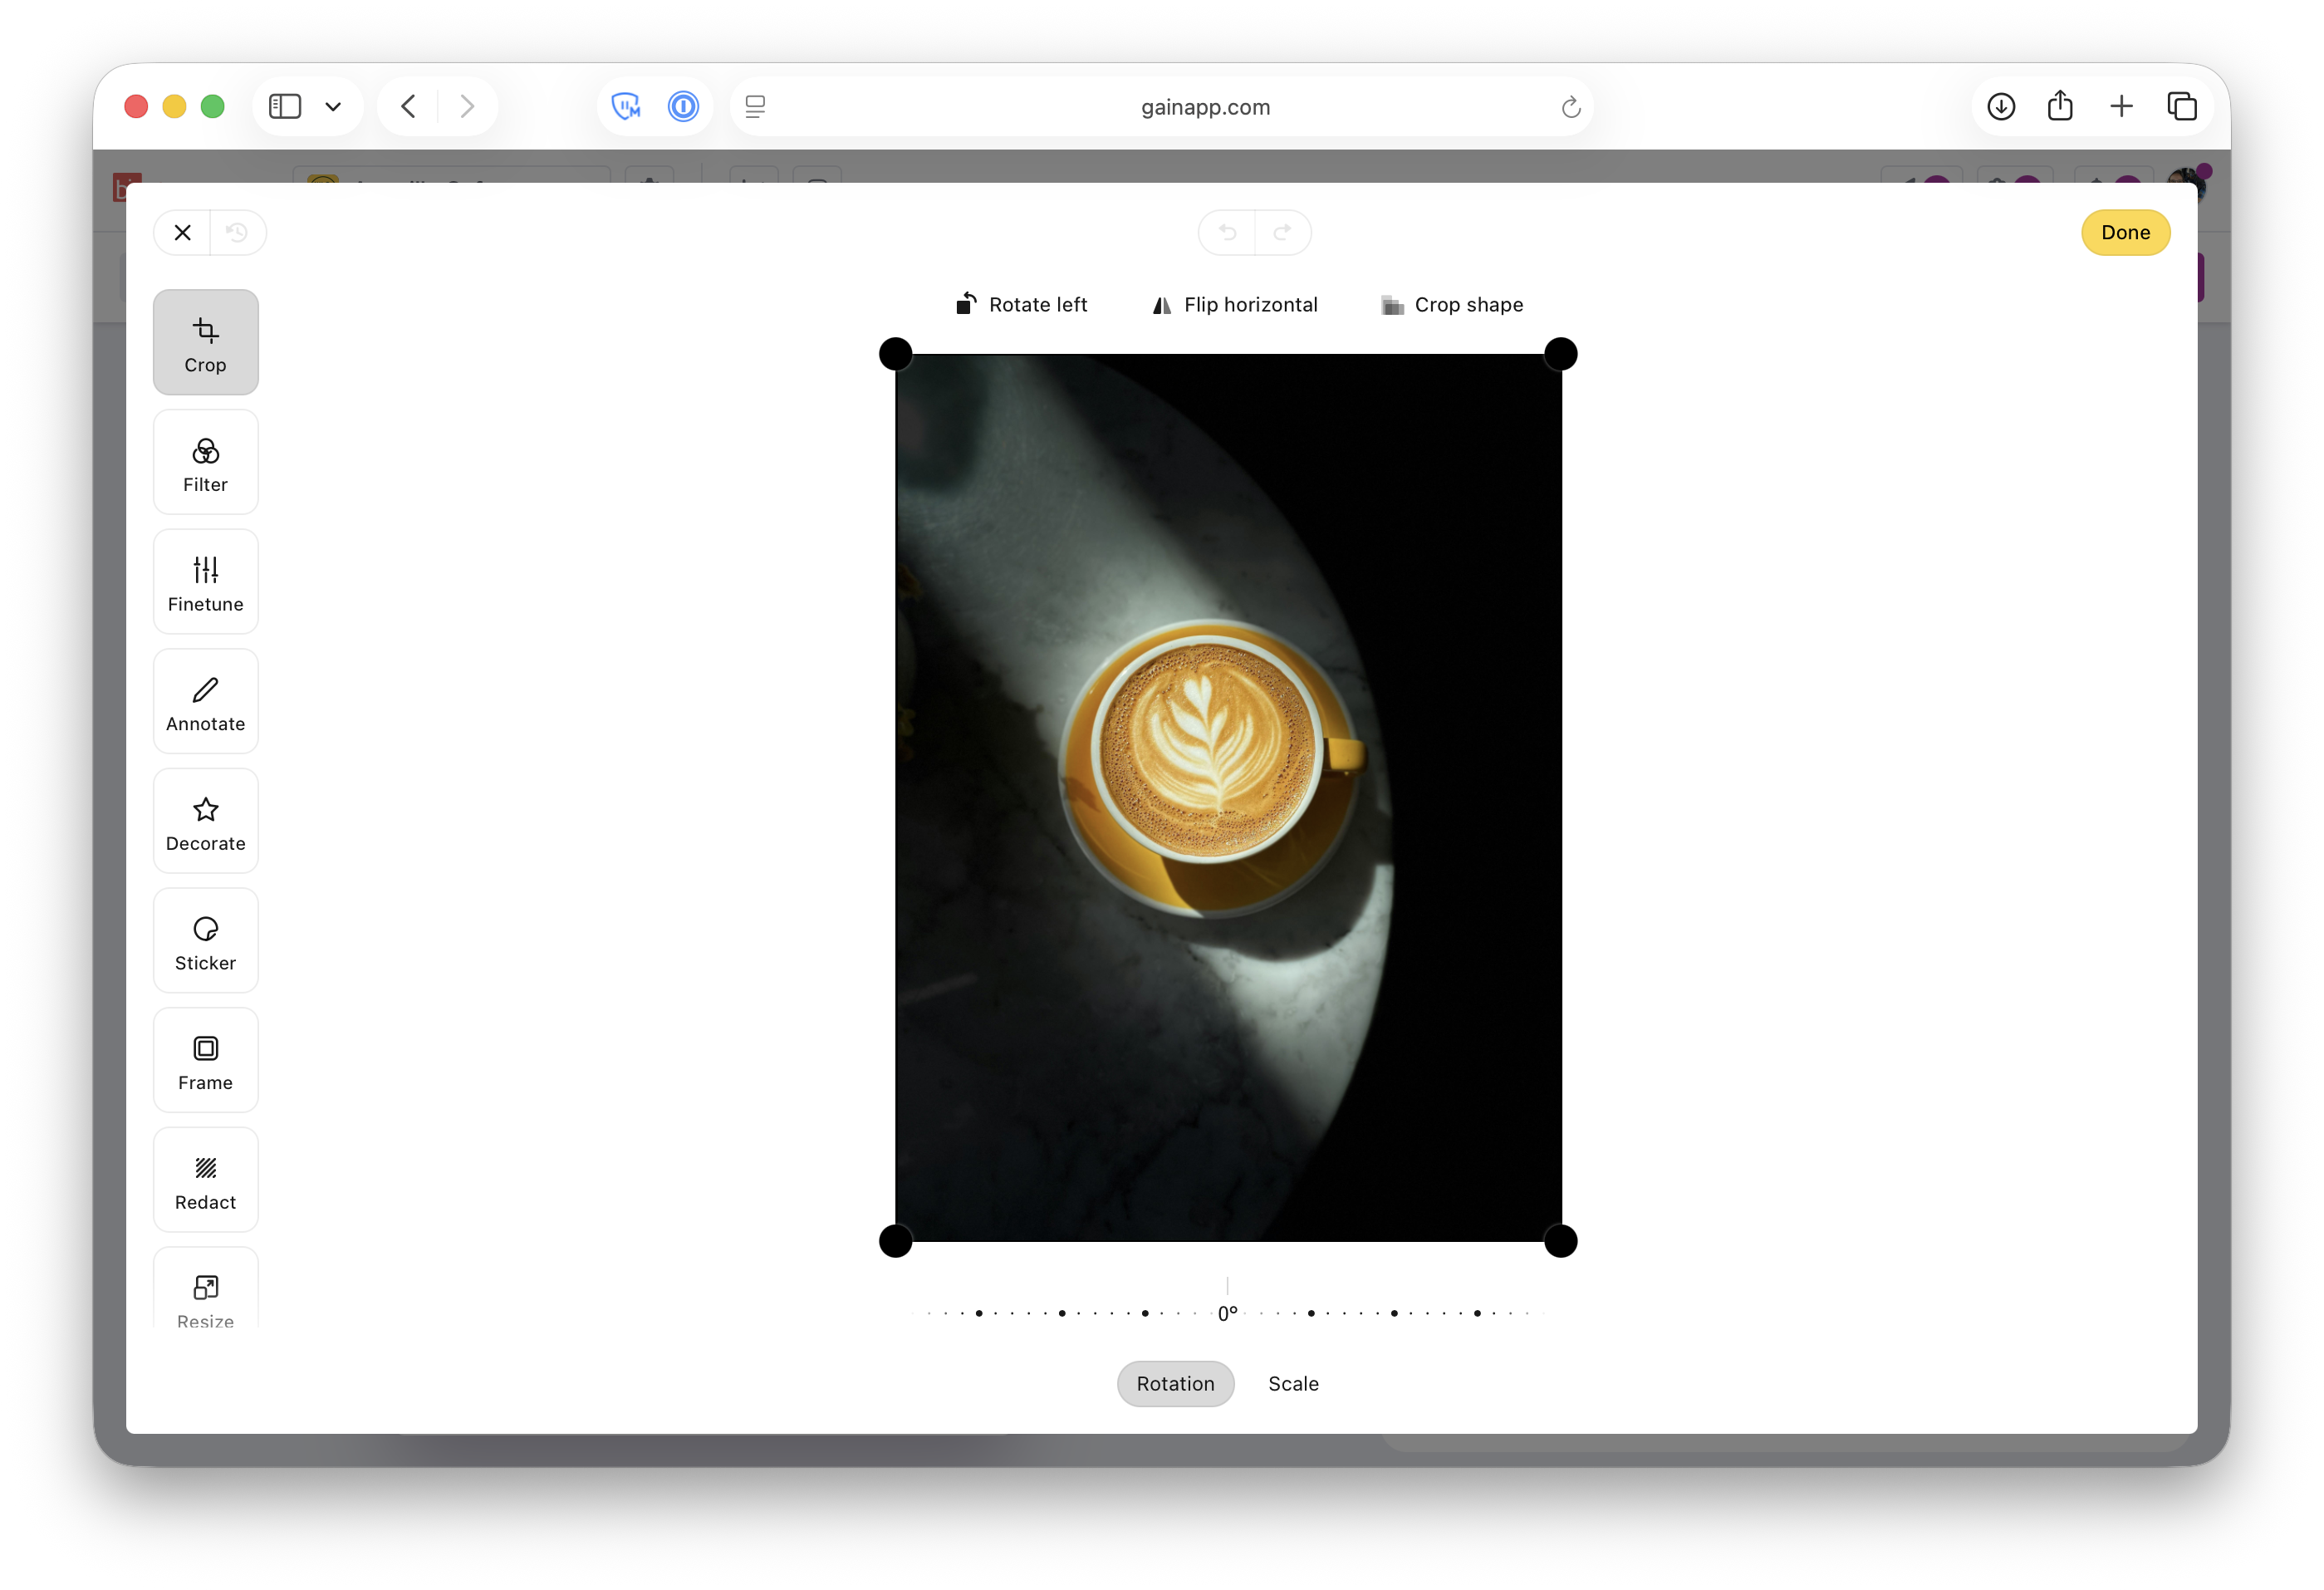
To edit a photo, click on the ellipsis (...) on the photo, and select Edit image. This will open Gain's photo editor, where you can crop, resize, and add effects.

All the photos you upload to your post from your computer will be stored right below in the media tray. That way, if you remove a photo from your post and later decide to use it, you can choose it from the media tray and restore it to the post.
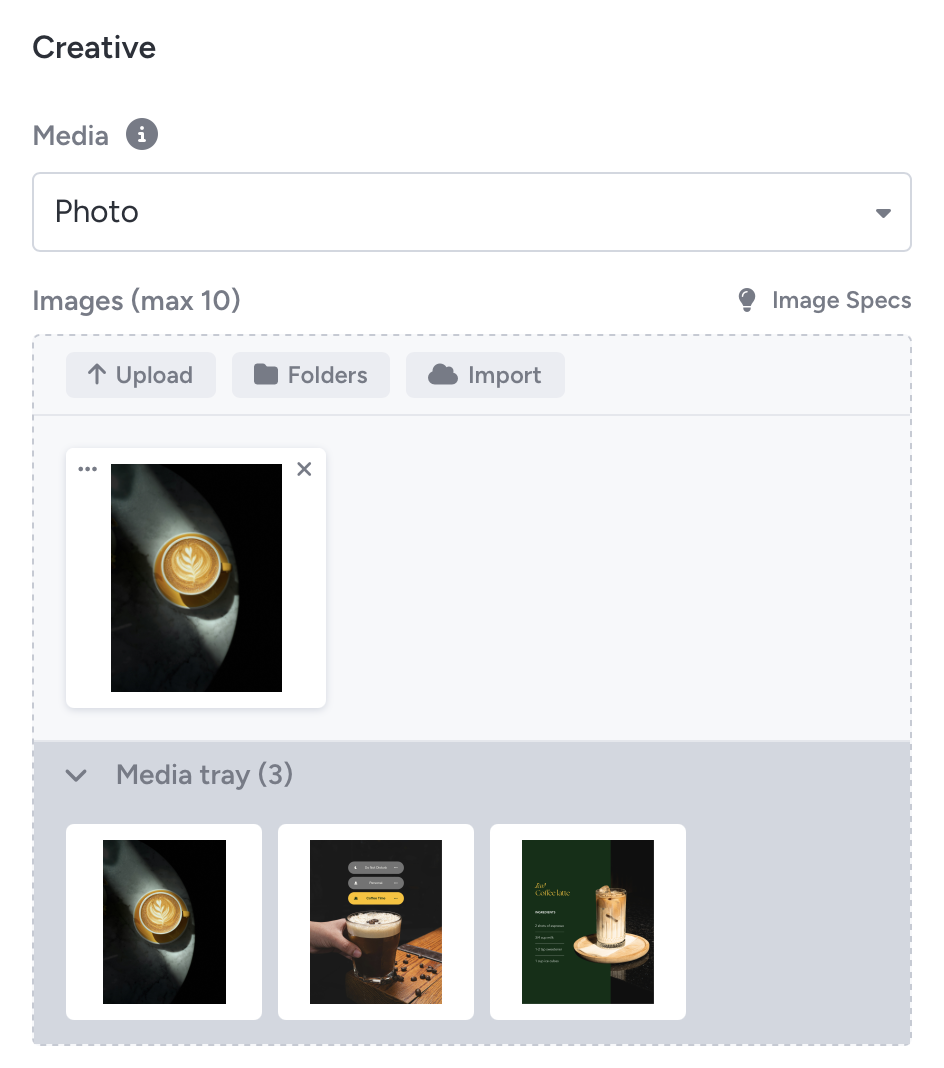
To remove a photo from your post, click the [X] on its top-right corner. If you uploaded it directly from your computer, it will still be available in the media tray in case you change your mind.
Mentioning other pages
To mention a LinkedIn Company Page in your post, type the full @name and select it from the dropdown list.

Audience targeting
To set targeting for your LinkedIn post, scroll down to the Audience section. Its default state is Shown to everyone. Click on the pencil to edit it.
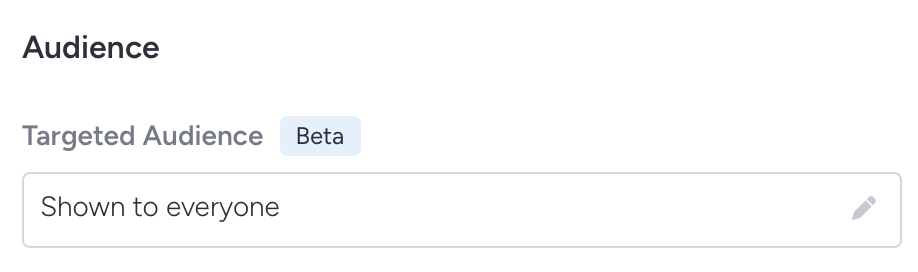
Choose your targeting criteria and click Save.

Now your post will only be visible to followers who meet your criteria when the post goes live.